
The Budget High-End Media Server: Why You Don’t Need a Expensive NAS for 4K Remux Streaming
Building a high-end home cinema means refusing to compromise on quality. If you are Taking the time to copy pristine 4K HDR Remux files, custom cinema intros, and high-bitrate audio demos, you quickly realize one thing: your storage requirements are going to explode.
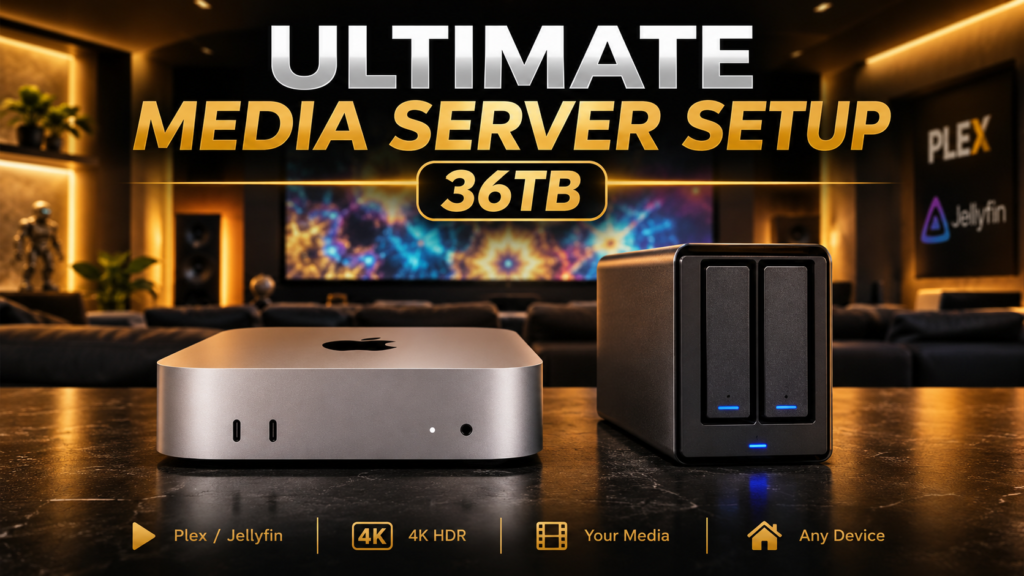
The standard advice in the home server community is immediate: “Go buy a 4-bay NAS.” But by the time you invest in a dedicated network enclosure and multiple high-capacity drives, you are easily staring down a €1,500 bill before you’ve even calibrated your first subwoofer.
What if you could get 100% of that high-end streaming performance, absolute data safety, and pristine 4K playback for a fraction of the cost?
You can. By combining an Apple Silicon Mac Mini with a direct-attached dual USB-C hard drive enclosure and a clever, free software automation loop, you can build a bulletproof media server that rivals high-end enterprise hardware.
Here is exactly how to build it, why it works, and how to avoid the classic backup trap that crashes most systems.
The Hardware “Cheat Code”: Mac Mini + Direct Attached Storage (DAS)
For hosting a high-end Plex or Jellyfin server capable of pushing 4K Remux bitrates (which can peak over 140 Mbps), a modern M-series Mac Mini is an absolute powerhouse. Its specialized, hardware-accelerated media engine can transcode multiple 4K HDR streams simultaneously without breaking a sweat, all while running silently and sipping minimal power.
Instead of plugging that Mac Mini into a costly network-attached server over ethernet cables, you plug it directly into a Dual-Bay USB-C Hard Drive Enclosure holding two identical high-capacity hard drives (such as 16TB mechanical disks).
- Drive 1: Your Main Storage (The live server disk holding your Plex library, Immich photo databases, and core files).
- Drive 2: Your Backup Disk (The exact mirror).
Direct-attached USB-C configurations easily saturate the maximum physical read/write limits of mechanical hard drives (~250 MB/s). This is more than enough bandwidth to handle massive data pools without any network lag.
The Time Machine Trap: Why Standard Backups Fail Media Servers
When setting up a dual-drive system, the default instinct for Mac users is to point Apple’s built-in Time Machine utility at the backup drive.
Don’t do this for bulk media.
Time Machine is designed for “Time Travel.” It takes continuous hourly and daily snapshots, preserving historical versions of your files so you can recover a document you deleted last Tuesday.
While this historical safety net is vital for your internal Mac operating system or your personal photo databases, it is a catastrophic choice for a multi-terabyte media library. Movies and TV shows don’t change over time; they are static, massive blocks of data. If a massive 14TB Time Machine backup fails or gets interrupted, it leaves behind giant, corrupt temporary cache files that eat up your remaining disk space, hide your data, and cause the backup engine to crash entirely.
To protect a massive home cinema library, you don’t need history—you need a flat, transparent 1-to-1 mirror.
The Smart Fix: A 2-Tier Automated Backup Strategy
To achieve absolute data safety without bloating your drives, implement a hybrid backup routine using a combination of Time Machine and a brilliant, 100% free open-source tool called FreeFileSync.
Free download: https://freefilesync.org
Tier 1: The Personal Data Safety Net (Time Machine)
Configure Time Machine to back up only your critical, fast-changing server data—like your internal Mac Mini SSD and your local phone photo backup directories (like an Immich server folder). Have Time Machine save these high-priority backups directly into a dedicated folder on your Main External HDD.
Tier 2: The Bulk Media Mirror (FreeFileSync)
Download FreeFileSync and set up a “Mirror” rule from your Main HDD to your Backup HDD.
Unlike standard utilities that force a destructive erase or lock your data inside a confusing, encrypted backup package, FreeFileSync performs a transparent file-to-file photocopy.
- The Initial Run: It copies your media and your Tier 1 Time Machine folder sequentially to the backup drive.
- The “Smart Update” Routine: Moving forward, whenever you add a new 4K movie to your main library, you simply hit “Compare” and “Synchronize.” FreeFileSync scans the disks in seconds, skips everything that hasn’t changed, and pushes only the brand-new files across in a matter of minutes.
If your main drive ever experiences a hardware failure, your backup drive isn’t trapped in a proprietary backup file. You simply point Plex to the backup drive, and your entire high-end home cinema is instantly back online.
Is this a True “High-End” Setup?
From a playback and processing perspective, yes. An M-series Mac Mini streaming directly from high-capacity USB-C storage will deliver identical, stutter-free 4K HDR playback to your Nvidia Shield Pro or Apple TV as a €1,500 enterprise NAS.
The only trade-off is live redundancy (RAID). If a drive dies in a high-end NAS, the system keeps running mid-movie without missing a beat while you swap the broken disk. In our budget-friendly Mac Mini setup, if your main drive dies, your server goes offline for a few minutes until you physically assign your backup drive as the primary source.
For a commercial enterprise, that downtime is a problem. For a high-end home cinema enthusiast looking to maximize their budget for better projectors, premium AV receivers, or professional room calibration, this setup is the ultimate smart-money play. It delivers total data safety, immense speed, and elite performance without the network server premium.
If you want Live Redundancy?
No problem, although you can still make this setup work this is where the costs will start to get increasingly close to that 4 bay NAS… For me this is where I would run a ‘hybrid’ setup.
Buy a decent synology 4 bay NAS, fit it out with 4 identical HDD’s 10TB, 12TB, 16TB or more depending on your needs.
Let’s assume 12TB is about right, this would give you 36TB of total available storage with live redundancy, if any one HDD ever fails, everything just keeps going your movie playback is not interrupted, everything runs just fine. At your earliest convenience you simply swap out the failed HDD, the system fixes itself and all is well.
However, maybe in a very rare situation multiple HDD’s fail, maybe the whole NAS fell of the rack… something crazy like this! This is where you have a matching DAC, a similar USB connected Storage with an identical or slightly larger storage capacity – for example in this setup x2 18TB HDD’s would give you a matching 36TB of backup storage, or better maybe x2 20TB HDD for a 40TB backup DAS.
You can use the same free software to then copy daily or weekly from your NAS to your DAS. In my mind this is the ultimate high end setup. If you like the sound of this, stay tuned, this is my next purchase and I will document the whole setup, config and exactly what benefits this gives, like faster speeds between the Mac mini and the NAS, much greater total storage options along with other NAS benefits.
Don’t forget – now you have all your storage sorted out, make sure you have the best content to show of your system, check out our calibration content to fine tune your system, demo’s to highlight your systems abilities and why not get a custom cinema intro to make your home cinema experience really special or maybe just checkout what 4k uhd movie you should watch next…