Home Cinema on Wheels: How I Built a Home Cinema Into My Camper Van
How I built a 4K projector, 5.1 surround sound, Plex media server and Home Assistant-controlled cinema into our camper van — and what I would do differently.
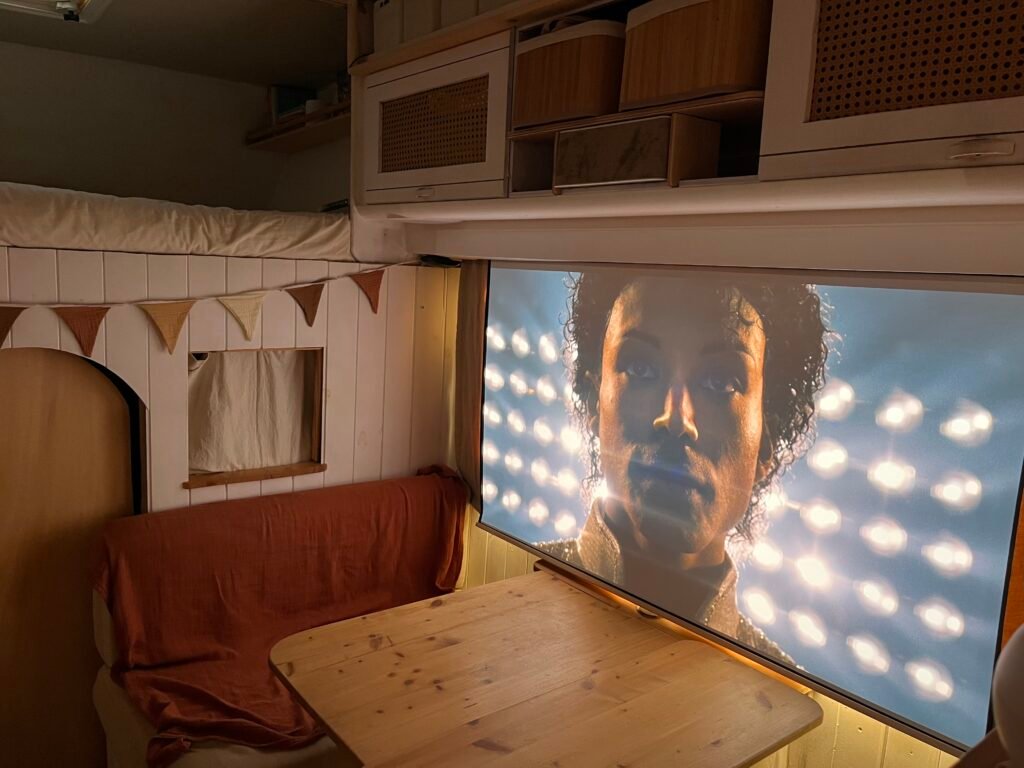
From our very first camper van, I knew that my time working in a home cinema specialist shop was going to become very useful!
A van is actually a great place for a projector. It is a small space where almost every wall has some kind of storage or needs to be used for multiple purposes. Putting what would be considered a very small 40″ TV on the wall would use up valuable space, could make your van more of a target for theft and, for 99% of the time when it isn’t being used, would be completely useless.
So welcome, the projector.
When it isn’t being used, it can be almost completely hidden and takes up very little space. You can have a much bigger 60″, 70″ or even larger screen without adding a large piece of visible equipment to your camper.
After several years of living in vans, and now living in our third van build, I think I have finally got pretty close to perfecting our cinema on wheels.
Why Build a Cinema Into a Camper Van?
For many people, I completely understand why this might seem unnecessary or even a little over the top.
We all have our interests and, if you’re reading this, you probably share my interest in technology and enjoy watching the odd movie.
If you’re living in a camper van, or even just using one for weekends away, you probably know that one of the biggest attractions of the lifestyle is being outside as much as possible — exploring nature, finding remote beaches and going on walks and hikes.
So where does sitting inside a small metal box watching a movie fit into this lifestyle?
Well, especially when you’re living in a van full time, you’re going to experience rainy days, windy days, longer and colder winter nights and those occasions when you simply don’t want to be outside.
And those conditions just happen to be perfect for a family movie night.
When we can’t be outside enjoying the sun, a great way to spend some time inside the van together is watching a movie. We’re all sitting down, so the limited space doesn’t feel too small or cramped. The big screen takes up a huge percentage of the wall and the surround sound fills the entire van.
Maybe you’re not experiencing van life with kids like us.
Before we had children, I remember how nice it was to enjoy dinner and sunset at the beach followed by a date-night movie, or simply relax after working in the van all day.
One of the main goals with all of our vans has always been that living in a van doesn’t have to mean compromising on everything.
If there is something we want, we make it work.
Vanlife should improve our lives and get us outside and into nature, but it doesn’t mean we have to give up all the comforts of home.
If you fancy spending a weekend in a tent, that’s great. But we don’t choose to live like that every day of the year.
What Makes Our Camper Van Cinema Different?
I mentioned that I used to work in a home cinema shop, and that experience taught me how to fine-tune sound and vision to get the best possible result from a system.
The first thing that differentiates our setup from many camper van cinemas is therefore the fact that everything is installed and configured specifically for the space.
The projector fills the screen properly, with no empty space around the image and no image spilling onto the wall behind it.
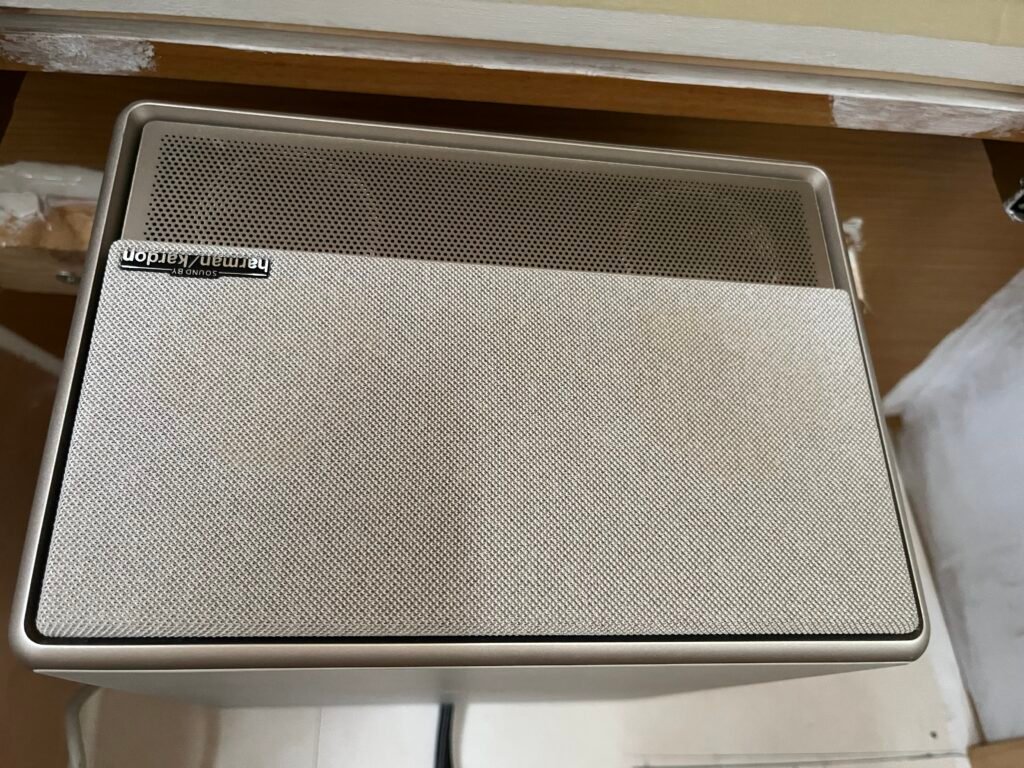
The speakers are correctly positioned and configured for a genuine Dolby 5.1 surround experience.
But this can actually be achieved fairly easily with a little time and knowledge.
The current setup is really the result of taking all the frustrations from our first two “cinemas on wheels” and fixing them.
No Internet? No Problem.
One example is finding the perfect spot on an almost private beach, only to discover that there is little or no internet connection.
You can’t stream Netflix or YouTube if you don’t have a connection.
The solution was simple: store our media locally on large hard drives connected to our Mac mini server.

Now, no matter where we are or what is happening with the internet, we can sit down and watch a 4K movie with zero buffering and instant playback.
One Button Starts the Cinema
Another problem was deciding to have a family movie night, only for everyone to get bored while I spent 15 minutes setting everything up.
In previous vans I would have to mount the projector, run cables, align the screen, select the correct input on the amplifier and generally get everything ready before anyone could actually sit down and watch the movie.
In our current camper, we press one button.
I pick up the Apple TV remote and turn it on. The Apple TV is connected to the projector via HDMI, which turns the projector on.
A few seconds later, the projector connects to Wi-Fi, which triggers our “Cinema Mode” scene in Home Assistant.
That automation:
- Turns on the AV receiver
- Selects the correct input
- Drops the projector screen
- Dims the lights around the screen
The projector and screen are permanently fixed in place, so once they were initially aligned and configured, they are always ready to go.
This has been one of the biggest improvements because the whole family can actually start watching a movie without me spending half the evening setting it up.
Now we just have to agree on what to watch…
The Problem With Watching Movies in the Sun
There is one slightly unusual problem with our cinema setup.
We live in sunny places because we love the sun.
If it is particularly hot and sunny, we sometimes want to escape the strongest part of the midday sun. The cinema gives us a great way to do that, but it creates two problems:
Light and heat.
Most projectors work best in a very dark room.
We have blackout curtains that help make the camper fairly dark, but our roof skylights and fans still allow a lot of light in.
And when we’re watching a family movie during the day, we don’t necessarily want to sit inside a completely dark box.
So we needed a very bright projector.
We chose the XGIMI Horizon Ultra, which has 2,300 ISO Lumens, and I wanted to see for myself whether it really lived up to the reviews.

So far, I’ve been extremely impressed.
Even with the curtains open and enough daylight coming into the camper to keep it comfortable and usable, we can still lower the screen and watch a movie.
And we aren’t using an expensive specialist ambient-light-rejecting screen.
Air Conditioning Makes the Cinema Possible
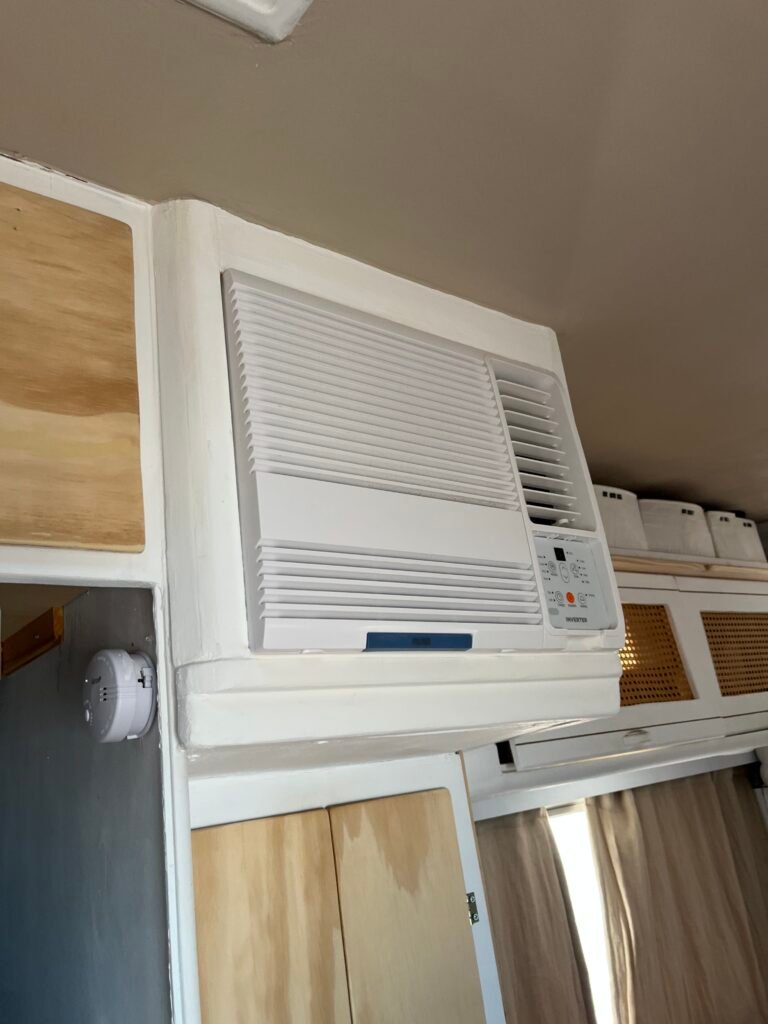
The second problem is heat.
Once you’ve closed everything up to make the camper darker and quieter, it can get hot very quickly.
Opening the skylights allows more sunlight in, while running the roof fans introduces noise that can become distracting during a movie.
This is where our air conditioning becomes an essential part of the overall cinema experience.
I remember sitting on the bed in our second camper trying to watch a movie while the temperature climbed above 30°C.
Eventually, the projector itself became too hot and shut down to protect itself.
Our current setup solves that problem.
The strange thing is that the hot sun creates the problem, but the same sun is also what provides the electricity to solve it.
Running the projector, AV receiver, Apple TV, Mac mini and air conditioning together can consume a significant amount of power, but our large solar and battery system makes it possible to do this completely off-grid.
The Hardware Behind Our Camper Van Cinema
Projector — XGIMI Horizon Ultra
UK:https://xgimi.sjv.io/E0Pbx4
US:https://xgimi.sjv.io/xJvEX5
The projector is obviously the most important part of the system.
For our setup, brightness, image quality and efficiency were the main considerations.
The Horizon Ultra also includes its own smart TV platform and built-in speakers, so it can actually be used as a much simpler standalone system if you don’t want to build a full cinema around it.
The projector itself uses considerably less power than the entire cinema system.
Depending on brightness settings, ours typically uses around 200W or less.
With the Apple TV, AV receiver and Mac mini included, the cinema system itself is around 300–350W.
If we add air conditioning on a hot day, total consumption can increase considerably depending on the temperature and how hard the air conditioner needs to work.
For evening movie nights, without air conditioning and with the projector brightness reduced, the entire cinema can use considerably less.
I’ve deliberately kept this section relatively short because the Horizon Ultra deserves its own article.
[Read my full XGIMI Horizon Ultra review / projector guide here.]
Audio System — Pioneer VSX-325 + 5.1 Surround
We paired a fairly basic Pioneer AV receiver with affordable Pyle recessed speakers.
The result is surprisingly good.
For both music and movies, this combination more than fills the camper.
Surround sound is actually quite easy to get right in a camper because you’re dealing with such a small space.
You don’t need huge amounts of power. In fact, a massively powerful amplifier and large speakers would simply be unnecessary.
At the same time, a simple speaker or soundbar will struggle to provide a genuine surround sound experience.
My advice would be to find a decent all-in-one AV receiver and, because you’re working in such a small space, find a way to hide the speakers.
You may lose a little storage space, but having the speakers hidden inside the camper is extremely useful. Otherwise they’re likely to get knocked, damaged or simply end up in the way.
Our centre speaker is the Pioneer centre speaker that came with the receiver, while the subwoofer is also Pioneer and provides more than enough bass to shake the camper when we turn it up.
For a camper van cinema, I don’t think you need to spend a fortune on sound.
Good positioning and genuine surround sound will make a much bigger difference than simply buying the most expensive equipment you can afford.
The Screen — Electric Drop-Down Projector Screen
The screen is another part of the build that adds a little “wow factor”, but it also serves a very practical purpose.
The screen is mounted above the window and boxed in. Unless you compare it with the same window on the other side of the camper, you wouldn’t necessarily realise it was there.
And that’s exactly what we wanted.
Most of the time we’re not using the projector, so we didn’t want any evidence of the cinema taking up space.
Then, at the touch of a button, the screen drops down and is ready.
We didn’t have many options when we built the camper, so unfortunately we lost some potential screen size.
We also have our dining table underneath the screen, so making the screen wider would have meant moving or dropping the table every time we wanted to watch something.
I also wasn’t a fan of the thick black borders and the white tube at the bottom of many traditional projector screens, so I customised ours slightly by reducing the black border and replacing the bottom bar with a piece of wood to keep the screen straight.
Media Server — M4 Mac Mini + Plex
If you haven’t heard of Plex, think of it as your own personal Netflix.
I’ve used Plex for years and bought a lifetime licence back when it was less than $100.
One of the biggest advantages for us is that our entire media library is stored locally on the Mac mini and large hard drives.
That means we don’t need an internet connection to watch our movies and TV shows.
I also want to test Jellyfin properly because it is now a very interesting open-source alternative to Plex, particularly if you want your media server to remain completely local and under your control.
For me, the Mac mini combined with an Apple TV is an incredibly simple and powerful combination.
The Apple TV is familiar, extremely power efficient and integrates very well with the rest of our system.
You can also use the built-in apps on the XGIMI projector if you want a simpler setup.
[See exactly how I built our Mac mini camper van server here.]
Home Assistant Makes Everything Feel Like Magic
I’ve already explained how Home Assistant makes turning the cinema on almost effortless, but it goes much further than that.
I can actually select the movie or TV show I want to watch from our Home Assistant dashboard.
Once a movie is playing, the dashboard displays the movie artwork and gives us controls for things like:
- Play/pause
- Volume
- Media selection
- Air conditioning
- Power consumption
It ties the whole system together.
This is one of those things that isn’t necessarily essential to building a camper van cinema, but once you’ve used it, going back to manually controlling everything feels unnecessarily complicated.
[See our full Home Assistant camper van setup here.]
Indoor vs Outdoor Camper Van Cinema
This is a future project for me.
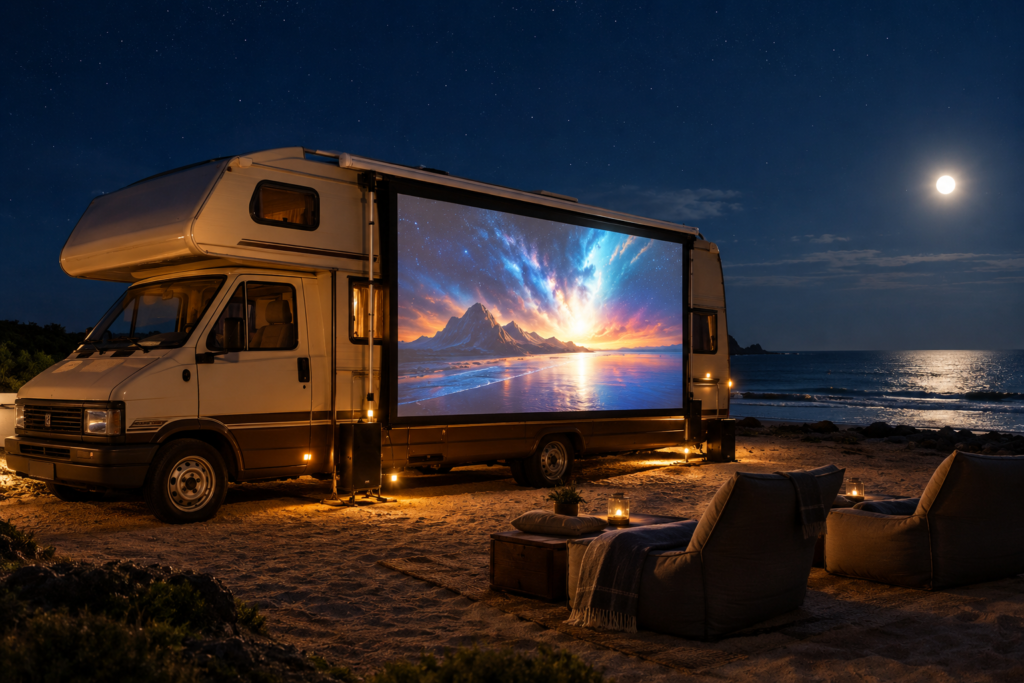
Many modern portable projectors now include built-in batteries, making an outdoor cinema surprisingly easy to set up.
For us, however, it doesn’t currently make much sense.
Our kids are normally asleep before it gets properly dark, and many of the places we stay are windy.
In Europe, an outdoor cinema would also generally make more sense on a campsite, where you may have neighbours very close by.
But depending on where you live and how you use your camper, an outdoor cinema could be an excellent option.
Can Solar Really Power a Camper Van Cinema?
Absolutely.
Your electrical system is obviously important, but you don’t necessarily need a huge solar and battery system.
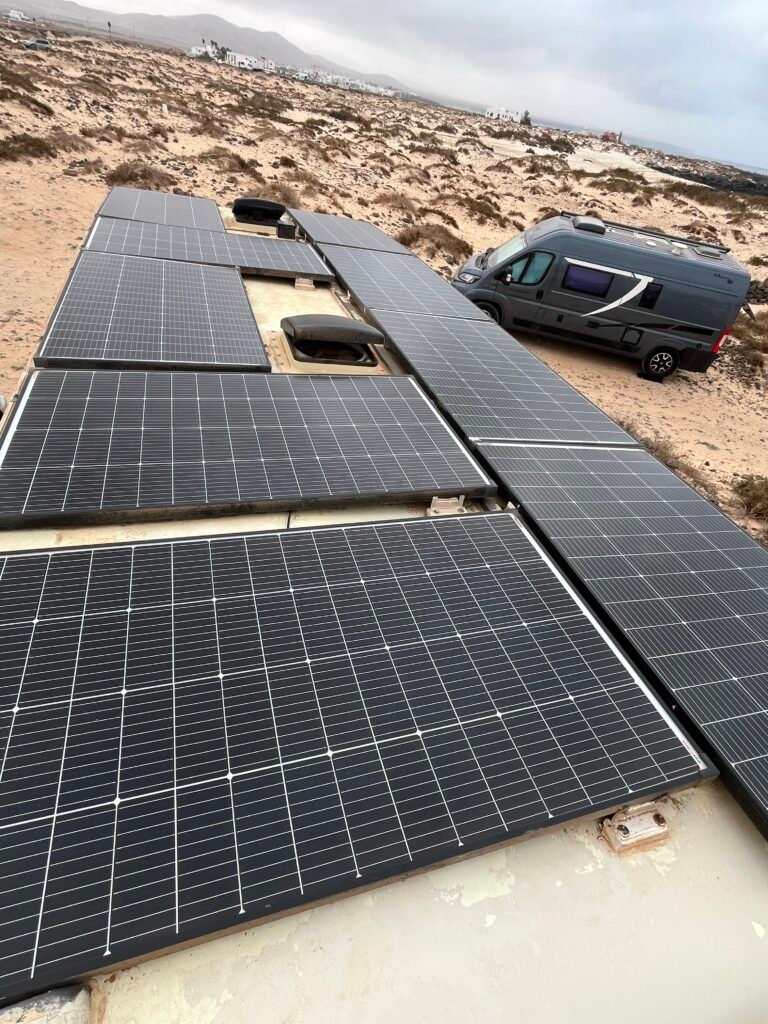
A simple portable projector with its own battery can be charged during the day and then used for a movie in the evening.
At the other end of the scale, our system includes a large battery bank and substantial solar capacity, which allows us to run a much more powerful cinema system completely off-grid.
The important thing to remember is that night-time energy use comes from your batteries, so you need enough solar during the following day to replace what you’ve used.
For example, if your projector and sound system consume 200W while watching a two-hour movie:
200W × 2 hours = 400Wh
On a 12V system, that’s roughly:
400Wh ÷ 12V = 33Ah
So adding around 50Ah of usable lithium battery capacity and 100–200W of additional solar could be enough to comfortably accommodate a movie every night, depending on the rest of your electrical consumption and your local solar conditions.
If you’re also running air conditioning, the calculation changes dramatically.
[See our complete solar and battery setup here.]
Why I Use a Local Media Server Instead of Relying Entirely on Streaming
Even if I were living in a house, I would still want a local media server.
Streaming services are incredibly convenient, but no single service has everything.
You quickly end up with multiple subscriptions, and if you want 4K content and better quality, the costs can increase even further.
A local media server gives you something completely different.
You can store your own legally acquired media and access it from all of your devices.
For us, this is particularly useful because we often have little or no internet connection.
It is also useful for families.
We don’t want our children endlessly browsing through streaming services, being presented with increasingly stimulating thumbnails or automatically being shown something completely different when one programme finishes.
With our own server, we decide exactly what is available.
We can create a library of age-appropriate content, remove anything we don’t want them watching and control what they have access to.
And because everything is local, we don’t need an internet connection at all.
Our M4 Mac mini runs Plex alongside several other services and can comfortably handle multiple streams while also running the rest of our camper’s systems.
You don’t need a server costing thousands of euros to achieve this.
[See everything else I run on our camper van server here.]
Controlling Everything From One Dashboard
Another thing I love about having a local media server is how well it integrates with Home Assistant.
We can open the movies page on our wall-mounted dashboard, choose a movie and send it to the big screen.
Once it is playing, we can control the volume, pause playback and see exactly what we’re watching.
The movie artwork is also displayed on the dashboard.
It sounds like a small thing, but when you combine the media server, projector, AV receiver, lighting, air conditioning and power monitoring, the whole system starts to feel like a proper integrated home cinema rather than a collection of individual devices.
Could You Build This Yourself?
Absolutely.
I’ve built hundreds of cinema systems over the years — initially for myself, then for clients, in houses and eventually in each of our three camper vans.
I’ve learned what is worth spending money on and, perhaps more importantly, what isn’t.
You can build a basic camper van cinema for a few hundred euros, or you can spend thousands.
The important thing is deciding what experience you actually want.
I’ve broken the options down into three levels.
Beginner Camper Van Cinema
You need:
- Portable projector
- Bluetooth speaker
- White or blackout blind
That’s it.
This is probably the easiest and cheapest way to create a big-screen experience in a camper.
Spend as much of your budget as possible on getting a projector with good brightness and resolution, ideally one with its own battery.
Pair it with one or two Bluetooth speakers and you have everything you need.
A single Bluetooth speaker positioned directly underneath or above the screen will already sound better than the projector’s built-in speaker.
Two matching Bluetooth speakers can give you a stereo setup and create a much wider soundstage.
The screen
For less than €20, you can use a white or blackout roller blind.
Even if you have a white wall, I think having a dedicated screen is worth it.
It gives you a defined viewing area, makes alignment easier and avoids imperfections on the wall becoming distracting.
Beginner projector options
- XGIMI
- LG
- Other portable battery-powered projectors
Bluetooth speakers
- Anker Soundcore
- Bose SoundLink
- JBL
Intermediate Camper Van Cinema
If you want to make the setup quicker and easier while significantly improving the experience, the first thing I would do is fix the projector in place.
This immediately opens up more projector options because you don’t need to pay for a built-in battery.
It also makes setup much quicker.
If the projector is permanently mounted inside a cupboard, you can simply open the cupboard and turn it on.
The next step is a proper streaming device.
For me, that’s the Apple TV.
If you prefer Google, Amazon or Roku, use what you already know.
The important thing is having a familiar interface that everyone in the family can use.
Add real surround sound
For me, the best value upgrade is a basic 5.1 surround system with small satellite speakers.
You don’t need huge speakers to fill a camper.
The subwoofer can often be hidden underneath a bed or inside a cupboard, while the smaller speakers can be recessed into the furniture.
For our last two vans, I bought second-hand 5.1 systems for less than $150 and both have worked extremely well.
The addition of genuine Dolby 5.1 surround sound makes an enormous difference.
Add a proper screen
At this point, you can also invest in a proper projector screen.
A tensioned screen will give you a perfectly flat image and some screens can also help with brightness, contrast or rejecting ambient light.
But even at this stage, a good roller blind can still work surprisingly well.
Power requirements
Because you’re now running a permanent projector, AV receiver and other equipment, you’ll want to consider your electrical system.
As a rough starting point, an additional 30–50Ah of lithium battery capacity at 12V and around 100–200W of additional solar could provide useful headroom for regular movie watching.
However, you should calculate your actual consumption rather than blindly adding capacity.
Advanced Camper Van Cinema
This is what I’ve built in our current camper.
We have:
- Dedicated media server
- Professional home network
- 4K projector
- 5.1 Dolby surround sound
- Electric drop-down screen
- Apple TV
- Home Assistant automation
- Large solar and battery system
- Air conditioning
The result is effectively a full home cinema that happens to be inside a camper van.
What I’d Do Differently
Despite loving our current setup, there are a few things I would change.
The biggest issue is the AV receiver.
The Pioneer VSX-325 is designed for a house, not a vehicle travelling down the road.
I’ve used two of these receivers in vans for several years and, despite the vibration and movement, they have held up surprisingly well.
The problem we’ve experienced is actually the HDMI connection.
Our original setup connected the Apple TV to the receiver and then the receiver to the projector.
However, the receiver doesn’t support Dolby Vision passthrough, so I eventually connected the Apple TV directly to the projector.
I then used HDMI eARC to send the audio back to the AV receiver.
Initially, this worked perfectly.
The Apple TV remote could turn everything on and control the volume.
Then we drove somewhere.
After moving the van, the audio would occasionally cut in and out.
Sometimes simply moving the HDMI cable would fix it.
Eventually this became too annoying.
I switched to an optical cable for the audio connection.
That solved the audio problem, but introduced another problem: I could no longer control the receiver’s volume from the Apple TV remote through HDMI-CEC.
So I now have two possible solutions:
- Replace the AV receiver with a newer model with better HDMI and Dolby Vision support.
- Keep the current receiver and use a programmable universal remote.
For me, option two is probably the better solution.
The lesson here is simple:
Don’t assume that equipment designed for a house will behave perfectly in a moving vehicle.
Frequently Asked Questions
Can a projector work in daylight?
Yes, but brightness matters.
If you can make the camper reasonably dark, around 1,000 ISO Lumens can be workable.
If you want to watch during the day with significant ambient light, I’d look for 2,000 ISO Lumens or more.
Even then, a projector will always perform better in a darker environment.
How much electricity does a camper van cinema use?
Our cinema system uses around 300–350W when running at high brightness and volume, excluding air conditioning.
A much simpler setup can use considerably less.
Can you watch Netflix?
Yes.
You can use Netflix through the projector’s built-in apps or an Apple TV, provided you have a suitable internet connection.
For vanlife, however, we often use our local Plex server instead.
Can you watch without internet?
Yes.
That’s one of the biggest advantages of our setup.
With Plex or other options like jellyfin, all of our locally stored movies and TV shows are available regardless of whether we have an internet connection.
Is a projector better than a TV?
For camper vans, I think so.
You don’t have to go huge. Even a 40–60″ projected image can look fantastic in a small van.
For a house, the answer is more complicated because modern TVs offer incredible image quality for relatively little money. But in a house you could easily achieve a 120″+ image… Immersion vs quality vs budget…
But if you specifically want a cinema experience, a projector still has something special about it.
How big is your screen?
Our screen is approximately 70″.
We mounted it along the side wall because this works best with our particular layout.
We could have gone larger by mounting it across the width of the camper, but that wouldn’t have worked with our dining / sofa area.
Can you use a camper van cinema outside?
Yes.
Many portable projectors now include built-in batteries, making outdoor cinema setups very easy.
For us, an outdoor system isn’t currently a priority, but it is something I’d like to experiment with in the future.
How much did the cinema cost?
Because so much of our system integrates together, it’s difficult to give an exact cost for the cinema alone.
The main components were approximately:
| Component | Approx. cost |
| XGIMI Horizon Ultra 4K projector | €1,100 |
| Pioneer VSX-325 AV receiver | €150 |
| Electric projector screen | €110 |
| Apple TV 4K | €200 |
| Main cinema components | €1,560 |
Other systems that support the cinema:
| Component | Approx. cost |
| M4 Mac mini | €700 |
| 2 × 16TB hard drives | €1,200 |
| Air conditioning | €600 |
| LiFePO4 battery system | €2,000 |
| 2,500W solar | €1,500 |
| MPPT / inverter | €500 |
These figures are approximate and obviously prices change over time.
Would I Build It Again?
Absolutely.
I don’t think I’ve had a home without a projector.
Even when we were backpacking, I found a way to sneak one into our travels!
I have a genuine passion for movies, and although I don’t get to watch as many as I used to, when I do get the chance I love the immersion of a large projected image and great sound.
For a camper van, I think a cinema is one of the best upgrades you can make.
Final Thoughts
Like I said at the beginning, this might not be for everyone.
But if you’ve made it this far, there’s a good chance you’re the sort of person who thinks a cinema in a camper van sounds like a pretty good idea.
And that’s really the point.
Living in a van doesn’t mean you have to give up every luxury or comfort.
For us, the whole point of vanlife is to improve our lives — to spend more time outside, explore more, find incredible beaches and spend more time together as a family.
But when the weather turns, when the sun gets too strong or when we simply want to relax together, having a proper cinema makes the van feel like home.
And after building three of them, I think I’ve finally got pretty close to the ultimate cinema on wheels.
Related articles
If you’d like to learn more about our camper van and the systems behind it:
- Mac Mini Camper Van Server — where all of our media lives.
- Home Assistant Dashboard — how I control the cinema and the rest of the van.
- Best Internet Setup for Camper Vans — staying connected when travelling.
- Best 5G Router for Camper Vans — our mobile internet setup.
- Solar & Battery System — how we power everything off-grid.
- How We Run Air Conditioning All Day Off-Grid — keeping the camper cool while watching movies.

Hi, I’m Luke.
I’ve personally renovated three camper vans from the ground up, including complete electrical systems, plumbing, solar, networking and smart automation.
This website documents my latest project: building one of Europe’s most advanced smart camper vans.
Are you looking to build your own ‘Smart Van’? If you need help, get in touch.
About me | Consultation Service | Work with me