
Maybe before I explain how, I should explain the why…?
Over the years I have installed an iPad in 3 cars and 3 camper vans. Every time I try to install a standard double din headhunt with a screen thinking it will be sufficient, it is only a matter of time before it starts to freeze up or something stops working. Then I ask myself, why I didn’t put an iPad here?
If you are reading this I assume you may have come to the same question. In many cases an iPad is absolutely the ultimate car/RV entertainment system, in the most familiar layout it contains all your media of all types, you can you the navigation app of your choice and especially with larger models you can have have everything on one screen.
If you already have the iPad, its basically free… if you want to upgrade and get the best sounding system, spend the money you would have spent on a fancy head unit and spend it on an amp and new speakers, maybe even a sub.
But depending on your needs, the look you want and what vehicle you are putting it in, it may not be the best solution…
If you are in a particularly modern vehicle with a built in screen that integrates with climate and other settings, an iPad as a replacement is likely not going to be satisfactory, as an extra screen its unlikely to ever look like a professionally fitted item. But maybe your vehicle does has the space and it would work – let me know in the comments! But maybe in this situation there are aftermarket integrations that will connect with the main screen giving you the additional features you require while keeping the factory look.
If however, you are here as you have an older car, with separate climate controls, no screen at all, maybe an old Kenwood cassette player… then you have probably come to the right place.
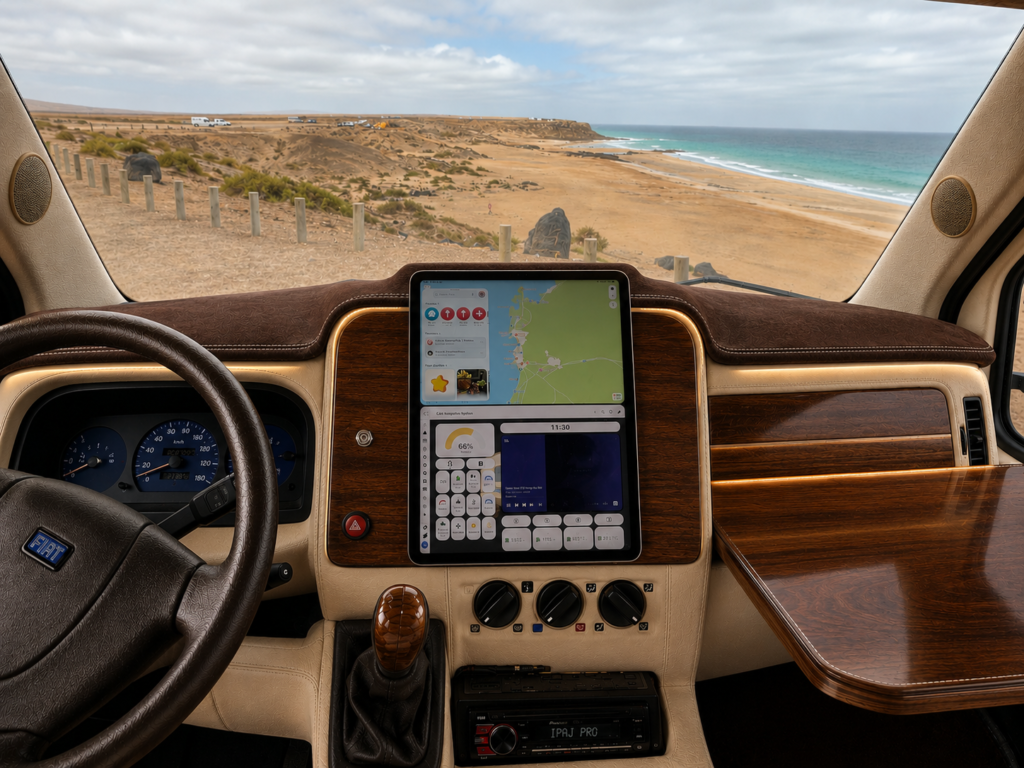
The last 3 vehicles I have fitted an iPad in I have used the same simple system. Go and buy the cheapest magnetic iPad case you can find. Not a case that the iPad has to squeeze into, one like the official apple magnetic case that simply attaches to your iPad with the magnets.
Something like this: Magnetic Case – But ensure you get the correct size for your model.
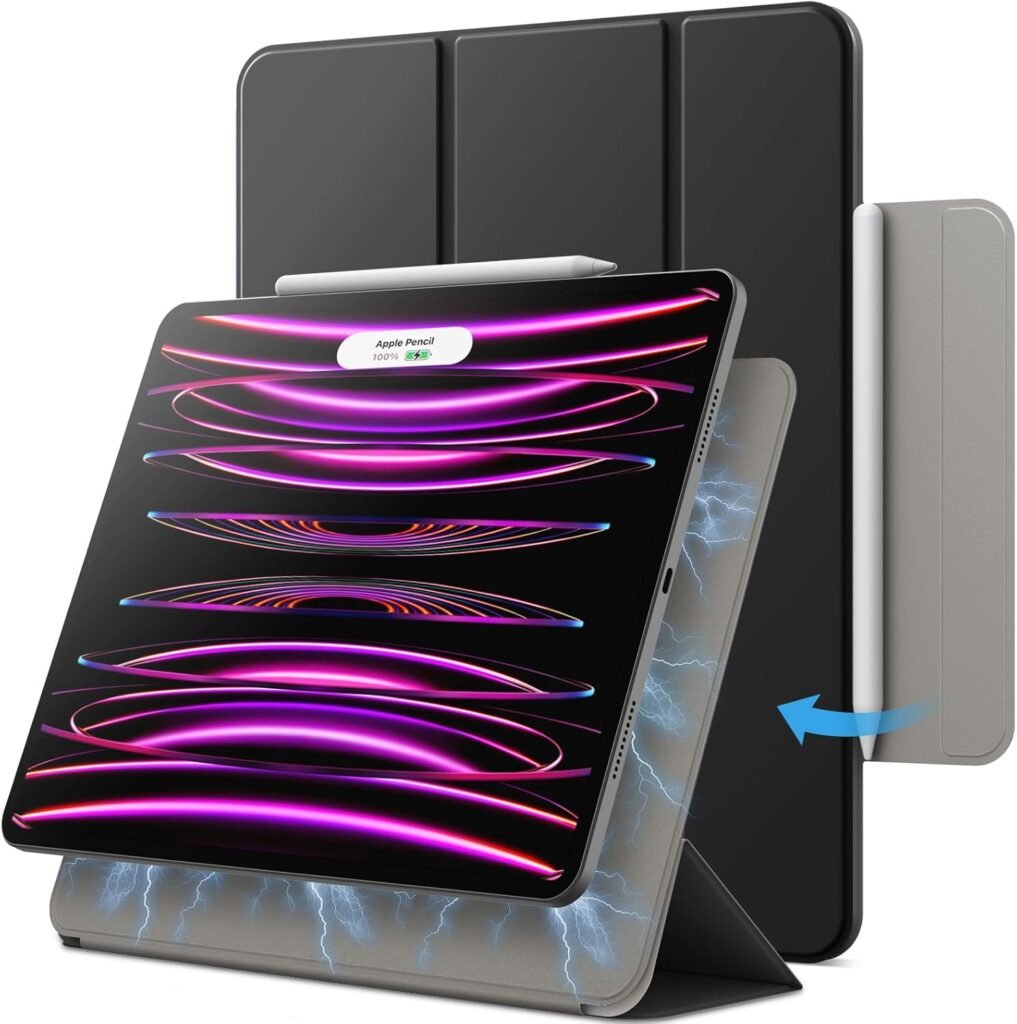
Now, if like the model above it has the extra screen protector then cut it off, simply take some scissors and neatly follow the line of the base to remove the screen cover. Now you have a perfectly shaped magnetic adaptor for the iPad. It will safely use the built in magnets to connect, no need to risk damaging the internals of your iPad by sticking strong magnets to the back!
Now you are free to work out the best place and way to attach this part to your dash, if you have a flat and level area on your dash, the base is strong enough to simply screw through it, usually 2 screws is enough, three even better to ensure firstly it cannot tilt or rotate, but also so it doesn’t flex or bend or flap against the dash over bumps. If you need to preserve your dash for re-sale or removing afterwards finding parts like storage fillers that sometimes sit right under a single din stereo or card holders, or anything you can use to attache some wood or metal to use as a solid base is what you are looking for. For example if you have the very common storage slot under your stereo, then cut a piece of wood to the exact size of that slot, and either wedge it in, if your cut is correct then it will hold on its own, the iPad weight will be vertical, not forward/backwards, so it will never move even going over bumps, if you want to be 100% get some 3M double sided tape with a little foam/flex in it, and slide it in so it sticks, it will be removable when that day comes, but will be 100% solid and you now have a wooden frame to screw your iPad case to.
Another option is to find a piece of dash that you can replace. Air vents, cup holders, wooden/plastic trim – if you can find replacement parts, order them then you can freely screw into the dash knowing that when you take it all out, you just add a brand new trim piece or accessory to replace the damaged parts.
But now you have the magnetic case installed all the hard work is done, simply attach the iPad and you have your ultra modern, Tesla style floating screen.
If you want to take things to the next level…
The first accessory I would buy – wireless charger
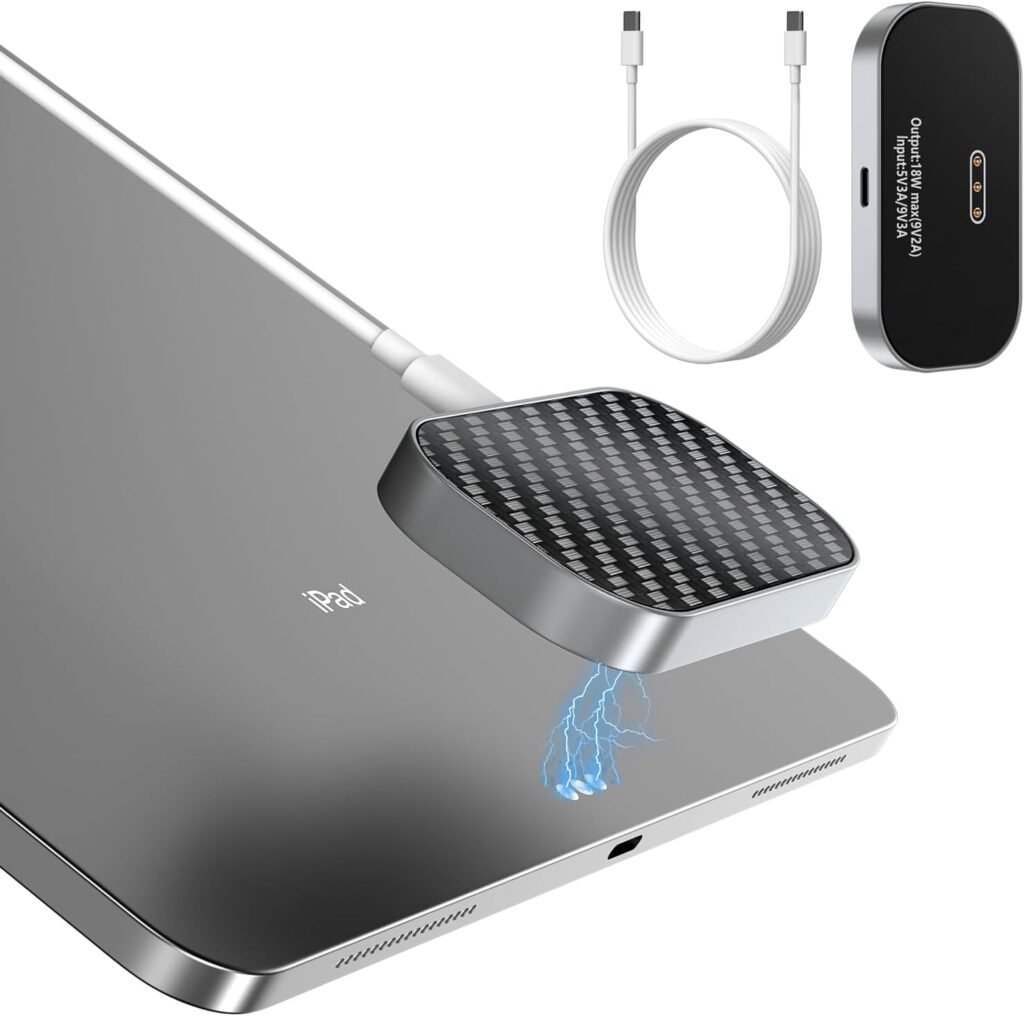
This will make your life much easier, just slotting your iPad onto the case and seeing it start charging and knowing your music/nav etc.. will last the whole journey without any ugly wires hangin out is one of the biggest improvements you can make for this setup.
To install, you’ll have to use a jigsaw or similar to cut the space out the iPad case you just purchased. Then match the thickness of the charger minus the case to create a frame behind the case, stick the frame to the back of the iPad case, then the charger can be stuck to frame.
To save this step and get a better overall look for when the iPad is removed from the holder you can buy an all-in-one charging stand But this will take some dismantling to remove the base & arm, and likely you will need to glue this to your dash or fit additional magnets. so it is a little more expensive, fiddly and difficult to go this route.
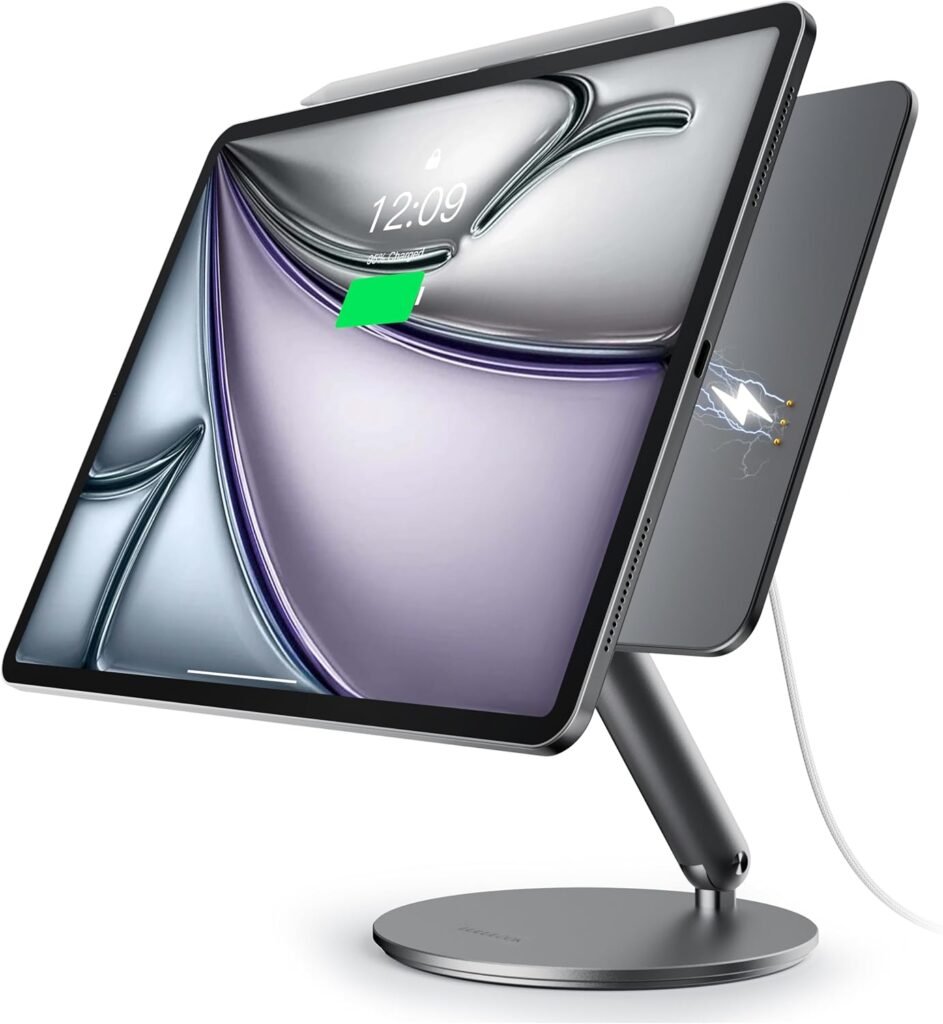
But now that you have your wireless charging magnetic base setup you have everything ready to go.
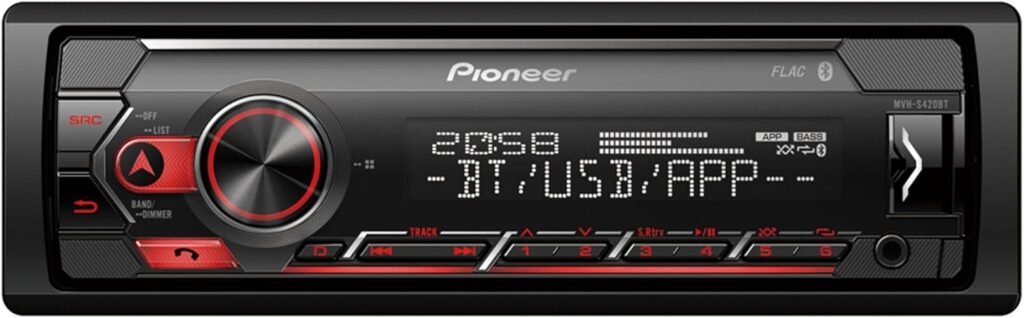
If you already have a bluetooth headunit, connect the iPad and start listening to music. If you need to buy a head unit as part of this setup, assuming it will be hidden I have a few recommendations.
Get a unit with dual bluetooth, each manufacturer has their own naming for this, but essentially it means you can connect your phone to the unit to receive calls handsfree, while your iPad will remain connected in the background streaming the music and nav.
If you are hiding your headunit behind the iPad itself or even in the glovebox etc… also look for one with app control, this way if you need to access any of the settings or even functions like the radio, CD player or other inputs from the headunit you can control this from the app on the iPad.
Something like this from Pioneer
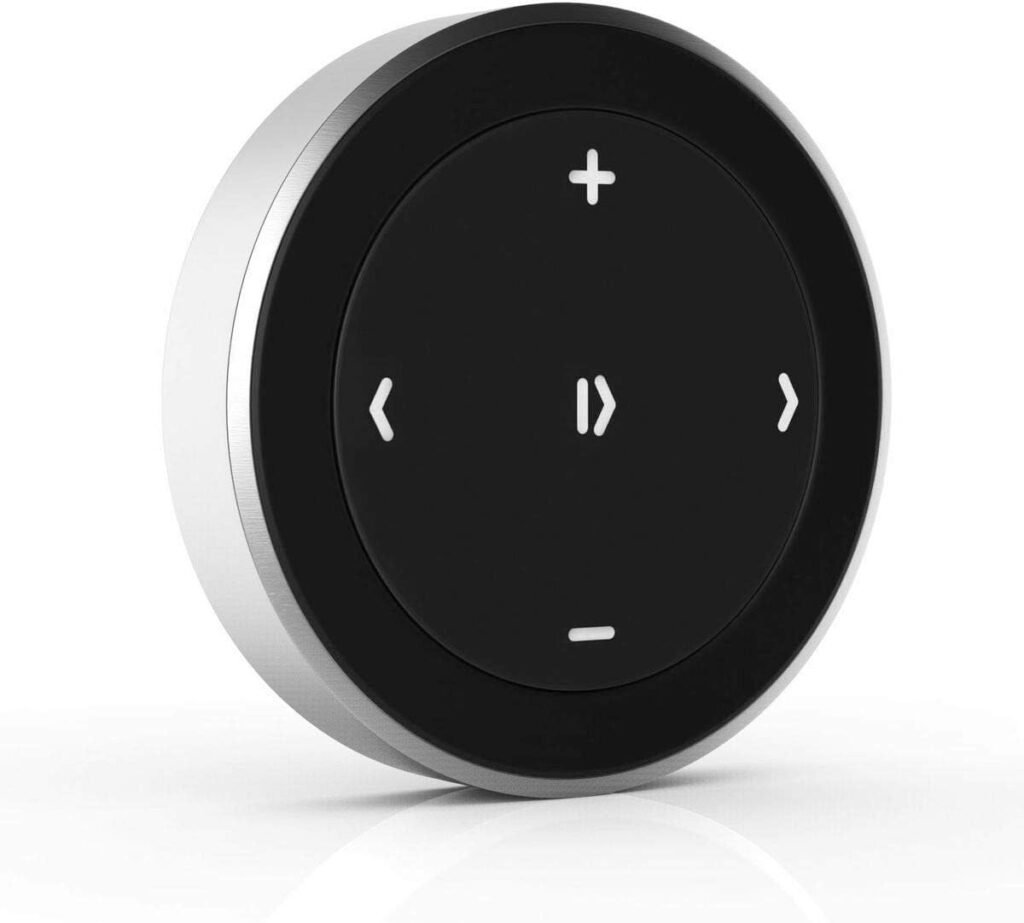
The final part to ensure the setup is as comfortable as possible to use. Steering wheel controls – most units come with the wiring, some require specific adaptors for your car but it is almost always possible to integrate your factory steering wheel controls with the headunit, this way you can change the volume and skip tracks as you would expect. If you do not have steering wheel controls the easiest and most budget friendly option is a bluetooth control for the iPad. With this setup, you can set your head unit at the max volume you would usually go up to, and leave it on this level. Ensure you have the headunit set to always return to the last used source, this way it will always connect back to the iPad and not blast the radio out every time you turn it on! Then you control everything from the iPad including the volume.
Ok, now you have a floating iPad that charges and connects to your car as soon as its on, you can control it from the steering wheel, life is pretty good!
Until… you start to drive and realize your navigation is not updating… If this is where you have found this post and you have a wifi only iPad and have maybe gone through all the effort to get your iPad working in the car to find out you cannot use it for navigation, then do not worry. There is a solution, and a good one.
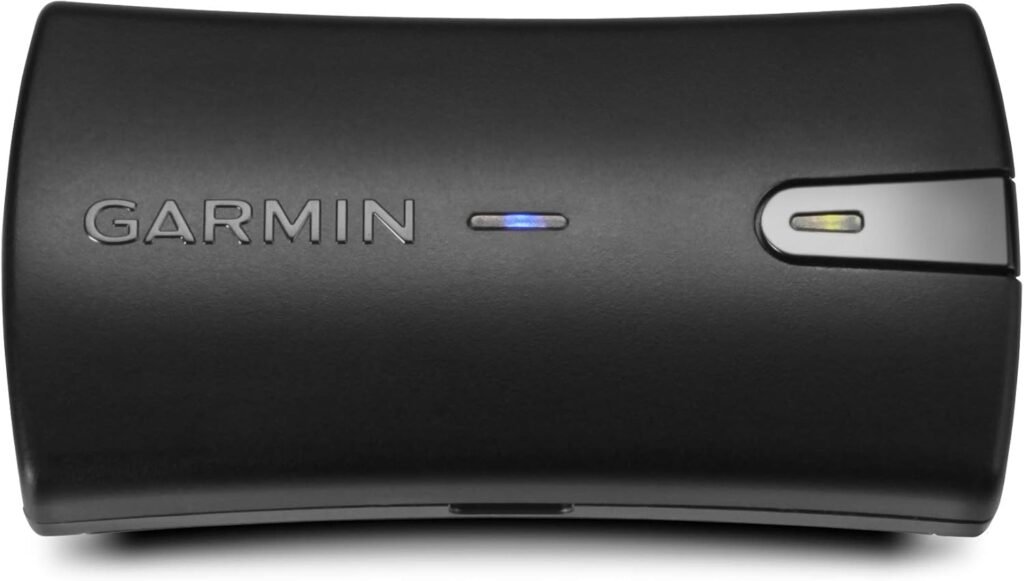
The Garmin GLO 2 – This little device will give your iPad the GPS antenna that is was missing and a better stronger one at that. Now if you have purchased or already have a cellular iPad, then it already has a GPS antenna built it and will work with or without a sim card installed.
Ok, now there really is nothing more to do except enjoy your working system…
Well, except upgrade those speakers, add an amp, subwoofer… Did you want to add a camera, are you also installing in a camper van? Maybe you will want to check out my ultimate iPad dashboard post.

Hi, I’m Luke.
I’ve personally renovated three camper vans from the ground up, including complete electrical systems, plumbing, solar, networking and smart automation.
This website documents my latest project: building one of Europe’s most advanced smart camper vans.
Are you looking to build your own ‘Smart Van’? If you need help, get in touch.
About me | Consultation Service | Work with me

Pingback: The Ultimate Driving Dashboard – LTH Media